How To Make A Simple Pong In Godot (Beginner Guide)
Create an easy variant of Pong in just a few minutes!
Are you a beginner looking to learn Godot? Then look no further because in this guide I will walk you through step by step on how to make your first video game !
Disclaimer: Your game will not look like the picture in the thumbnail. This tutorial aims to be as simple as possible. This means that you may be introduced to some coding pracices that are not sustainable for long term. Please be aware that this guide aims only to cover the pure basics.
Let's begin by downloading Godot, if you haven't already.
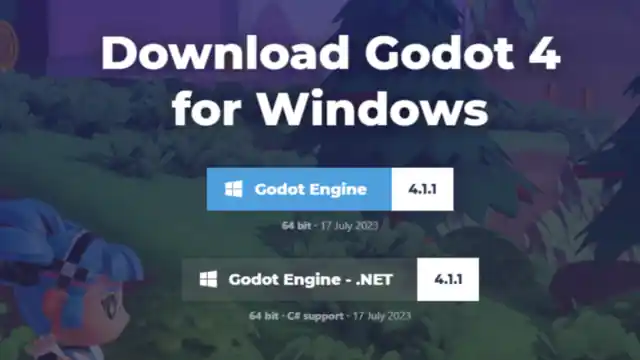
Godot download page, found at https://godotengine.org/download/windows/
In this tutorial, I will be using Godot 4, but it should work in Godot 3 with a few modifications.
Create a new project. Name it "pong" and create a new folder. Select "compatibility" for the renderer, and hit "create and edit."

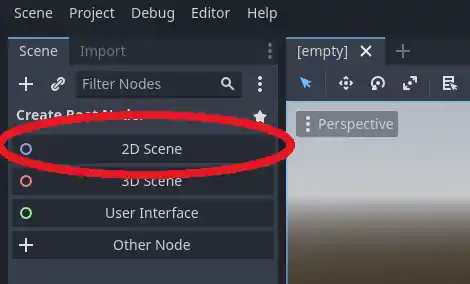
Add a new 2d Scene
Hit ctrl + s to save the scene and name it whatever
Next, we'll add something to our currently empty scene. right click the root node and hit "add child node"
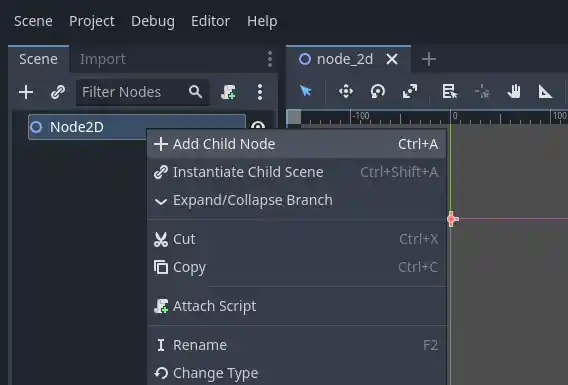
Search for "CharacterBody2D" and create it.
Note: In Godot 3, it's called "KinematicBody2D".
Double click it and rename it to "player 1"
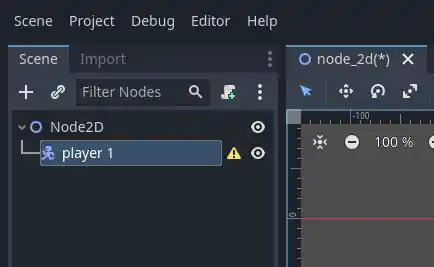
Character Bodies are components that have some built in functionality that we would like to use.
Next, add a ColorRect to the player. The hierarchy matters in Godot, so make sure you have player 1 selected when doing this.
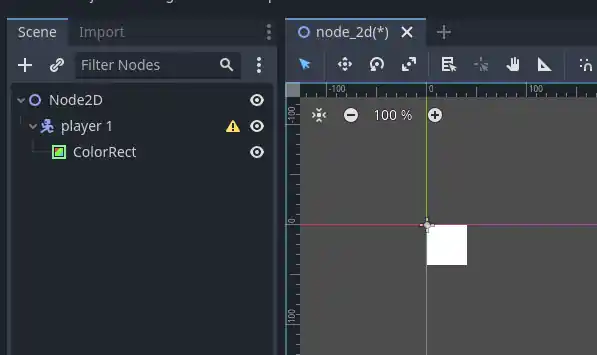
ColorRect is a quick and easy way to create some visuals on the screen
Now, select the ColorRect and adjust it to resemble a long paddle. The height of the camera is given by a thin blue frame, so don't make it longer than that.
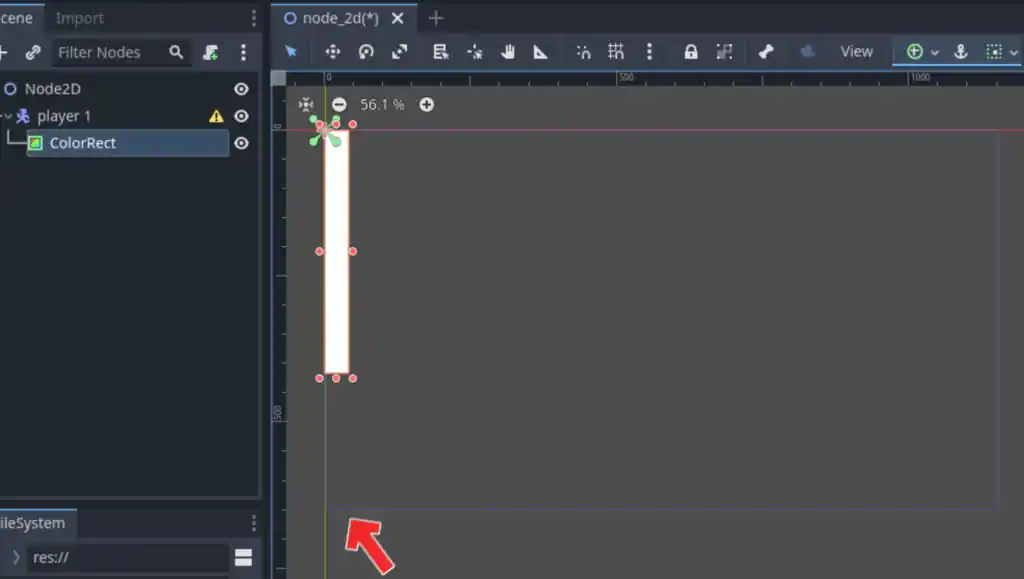
The thin blue line represents what is visible in-game
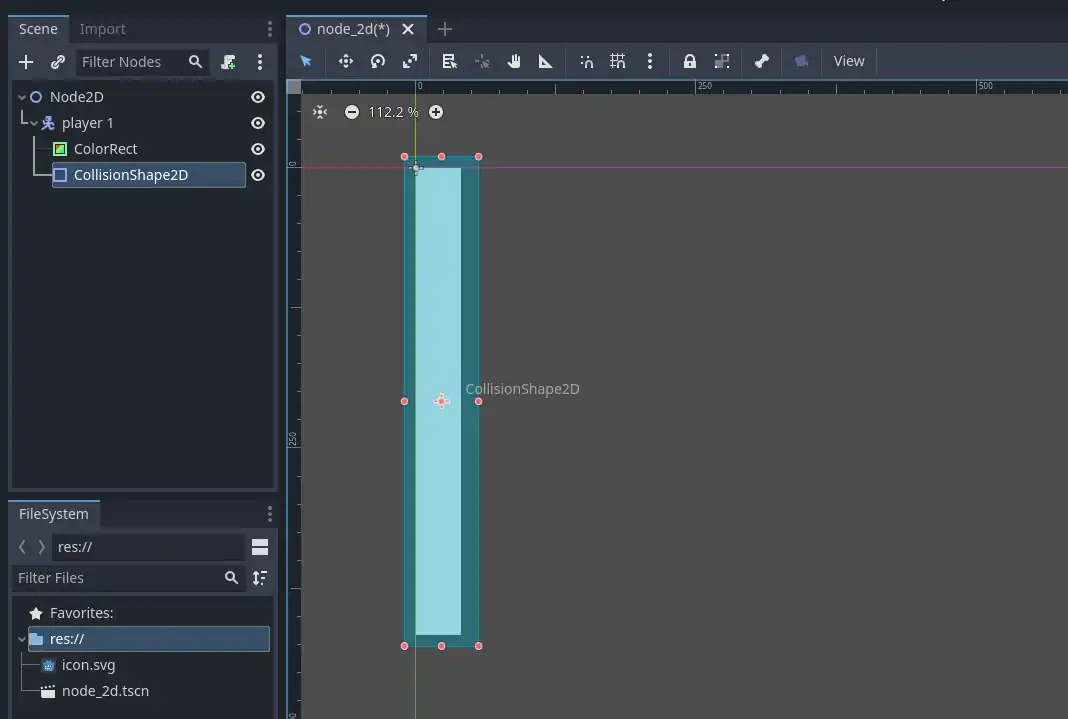
Now select player 1 again and add a CollisionShape2D as a child. This will add an area that defines the shape of the character body.
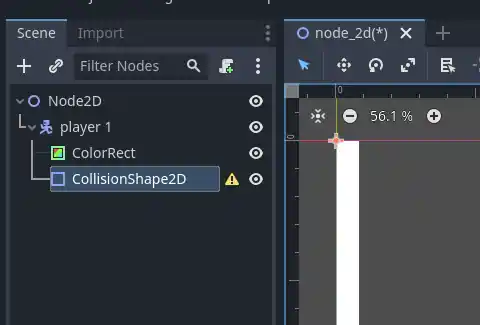
The warning message from the character body went away, but now there's another one next to the collision shape because we haven't given it any shape yet!
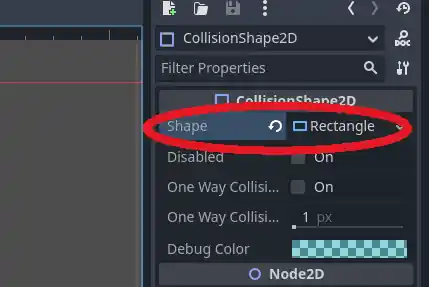
Now we need to assign the collision shape an actual shape. Look to the right and find the Shape property, and change it to a RectangeShape2D
Now take the paddles of the collision shape and adjust it so that it covers the entire rectangle.
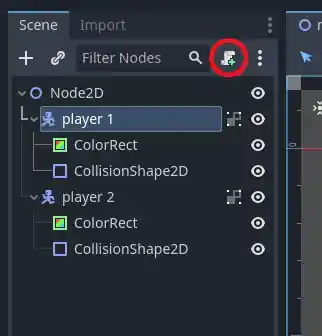
Nice! Now we have a good setup for a pong paddle. Next click on player 1 and hit the "group select" button so we can move it freely without disrupting the childeren nodes.

To complete our setup, hit crtl + d to duplicate it and drag the new one over to the other side.
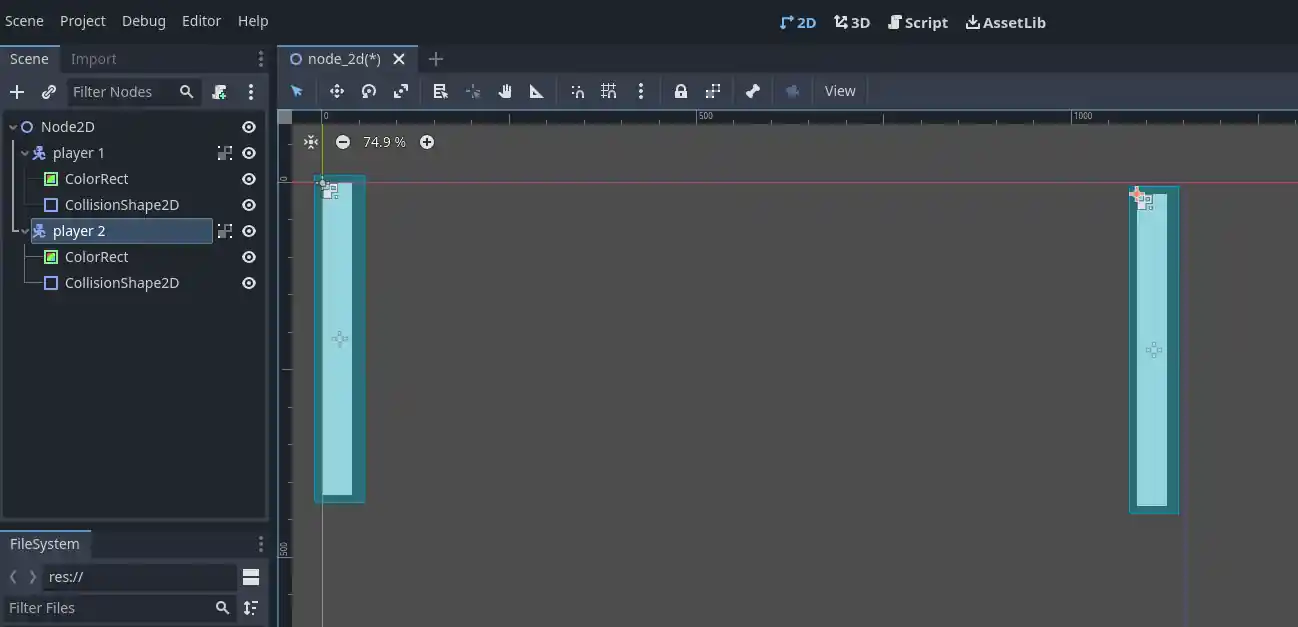
Hit ctrl + s to save the scene
Here comes the fun part- Code! We need to add functionality to the paddles.
click on player 1, and hit the attatch script button. Then name it whatever and hit create.
Replace all the code with the following:
                extends CharacterBody2D #KinematicBody2D for Godot 3

                func _physics_process(delta):
                    if Input.is_key_pressed(KEY_W):
                        position.y -= 5
                    if Input.is_key_pressed(KEY_S):
                        position.y += 5
Let's break this down
-
extends CharacterBody2D:This line just gives us access to code made for Character Bodies. If you're using Godot 3, you'll have to replace it with KinematicBody2d -
func _physics_process(delta):This creates a function, the physics process more specifically. Anything inside it gets called 60 times a second. -
This is two If Then statements. You'll learn more about these, but all it does is move the paddle up when W is pressed and down when S is pressed.if Input.is_key_pressed(KEY_W): position.y -= 5 if Input.is_key_pressed(KEY_S): position.y += 5
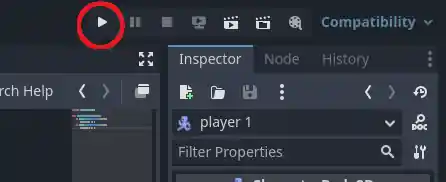
Let's make sure it all works! Hit the play button in the top right. When it asks you to select a main scene, hit Select Current
You'll notice that the left paddle should move when you hit W or S.
Remember how we attatched a script to player 1? Now we need to do the same for player 2. Just select player 2 and attatch a script, same as before, and add this code in:
                    extends CharacterBody2D #KinematicBody2D for Godot 3

                    func _physics_process(delta):
                        if Input.is_key_pressed(KEY_UP):
                            position.y -= 5
                        if Input.is_key_pressed(KEY_DOWN):
                            position.y += 5
This is actually the exact same code as before, except W and S were swapped with the up and down arrow keys.
Try running the code again. This time, you should see that the left paddle and the right paddle can both move when you press their respective buttons.
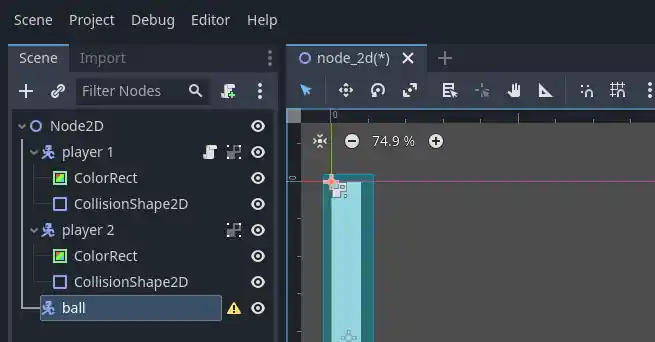
Now it's time to add in the ball. Switch the tab back to 2d in the top. Click the root node, "Node2D", and add a new CharacterBody2D child. Rename it "ball".
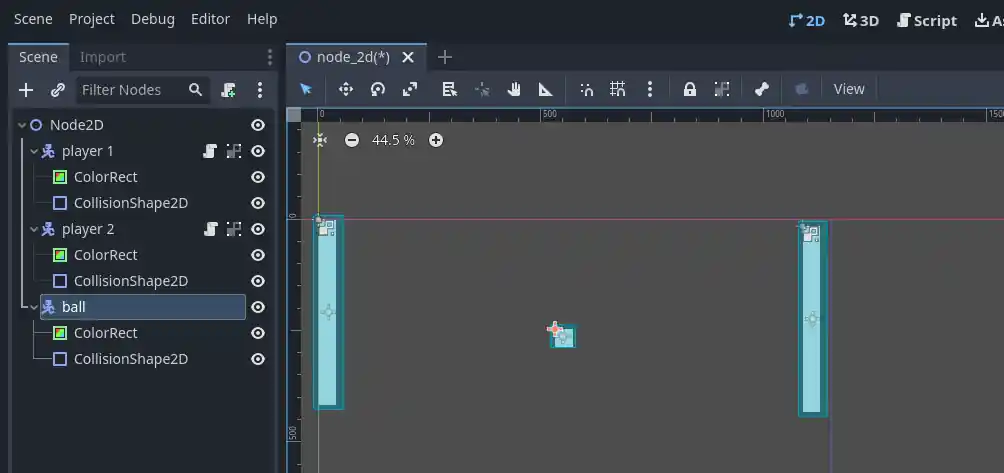
Drag it in between the two paddles and add a ColorRect to it. Make it look like a small square. Then add a CollisionShape2D and set its shape to the RectangeShape2D, and adjust its margins to fit the color, just like we did with the paddles.
Attatch a script to ball just like we did with both paddles. Replace the code with this:
                    extends CharacterBody2D #KinematicBody2D for Godot 3

                    #for Godot 3, add the following line:
                    #var veolocity

                    var collision_data

                    func _ready():
                        velocity = Vector2(300,0)

                    func _physics_process(delta):
                        collision_data = move_and_collide(velocity * delta)
                        if collision_data:
                            velocity.y += randf_range(-20, 20) #rand_range(-20, 20) for Godot 3
                            velocity = velocity.bounce(collision_data.get_normal())
There's a lot more complicated features in this code so I'll briefly describe some important parts:
-
extends CharacterBody2DThis just gives us our character functionality -
var collision_dataThis declares a variable that will store information when the ball hits stuff. -
velocity = Vector2(300,0)This sets the ball's velocity so it gets shot straight in the right direction. -
move_and_collide(velocity * delta)This is a very common function in character bodies that allows easy movement.
There you have it! This should now be a fully working pong clone. You may notice that the ball moves back and forth in a very dull manor.
You can fix this by adjusting
velocity = Vector2(300,0)
to be more like
velocity = Vector2(300,500)
and you'll see some more dynamic vertical movement.
That will, however require you to add in barriers below and above your scene! You can accomplish this by adding in a new StaticBody2D and giving it a CollisionShape2D, just like with the paddles, but adjust it to cover the out-of-bounds area. Or you can duplicate one of the paddles, detatch the script, and just turn it sideways so it behaves like a barrior. The choice is up to you!
Now that you've built a pong clone, you've taken one step forward in your journey of learning. Consider checking out some of my other guides!